Chilli paneer recipe with step by step photos.

Chilli paneer is a famous spicy Indo-Chinese starter. Few people like semi gravy version of chilli paneer while others like the dry version. In this recipe, I have shared both the variations of chilli paneer. 

My mumma's chilli paneer recipe is really famous! Chilli paneer is a must in the menu whenever any of my cousin is coming to our place. 😁 So yeah this is my mumma's recipe. Do try this recipe at home and share your feedback.

For making this restaurant style chilli paneer, we need to deep fry paneer coated with cornflour and several sauces. After this we need to coat these paneer cubes with nice Indo-Chinese style gravy. 

Here goes the detailed chilli paneer recipe with step by step photos:

Chilli Paneer Recipe


Ingredients:

Paneer - 400 gms
Capsicum - 1 medium size
Onion - 2 medium size
Spring onions - for garnish
Sesame seeds - 1 teaspoon
Garlic - 20-25 cloves
Green chilli- 2-3
Ginger - 2 inch(grated)
Tomato - 2 medium size
Tomato sauce - 1 tablespoon or to taste
Chilli sauce - 1 tablespoon or to taste
Vinegar - 1 teaspoon
Soya sauce - 1 teaspoon
Maida(All purpose flour) - 1 tablespoon
Cornflour - 2 Tbsp
Red chilli powder - 1/2 teaspoon
Black pepper powder  - 1/2 teaspoon
Oil for deep frying
Salt to taste


Chilli Paneer Recipe:

  1. Add Paneer, tomato ketchup, chilli sauce, vinegar, red chilli powder. Close the box and shake it well. All the paneer cubes will get the even coating of sauces. 
  2. Add cornflour and maida. Close the box and shake it again. This time all the paneer cubes will be coated with cornflour and maida mixture. If it is coated evenly then paneer cubes won't stick to each other and there will be some extra mixture left. If not, then add more cornflour and maida.
  3. Now paneer is ready for deep frying.
  4. Heat oil in a kadhai and meanwhile cut capsicum and onions. Capsicum and onions should be diced.
  5. Once the oil is hot, deep fry paneer until golden brown.
  6. After paneer deep fry onions and capsicum as well. Be really quick while deep frying onions and capsicums. They should not lose their colour. It will hardly take 3-4 seconds for onion and 5-6 seconds for capsicum.
  7. Keep these deep fried things aside on an absorbent paper.
  8. Now take the mixture that was left after coating paneer cubes. Add chilli sauce, tomato sauce, pepper, vinegar and mix it well. Keep it aside. 
  9. Heat about 1 tbsp oil in a pan.
  10. Add grated ginger, chopped garlic and green chillies. Saute it for about a minute.
  11. Add finely chopped tomatoes.
  12. When it becomes mushy, add the mixture prepared in step 8. Consistency will become thicker. If you want to have a little gravy then add some more water. Otherwise,  let it become thick.
  13. Add sesame seeds.
  14. Add deep fried paneer, onions and capsicum. Mix everything well on high flame. Cook for about a minute! 
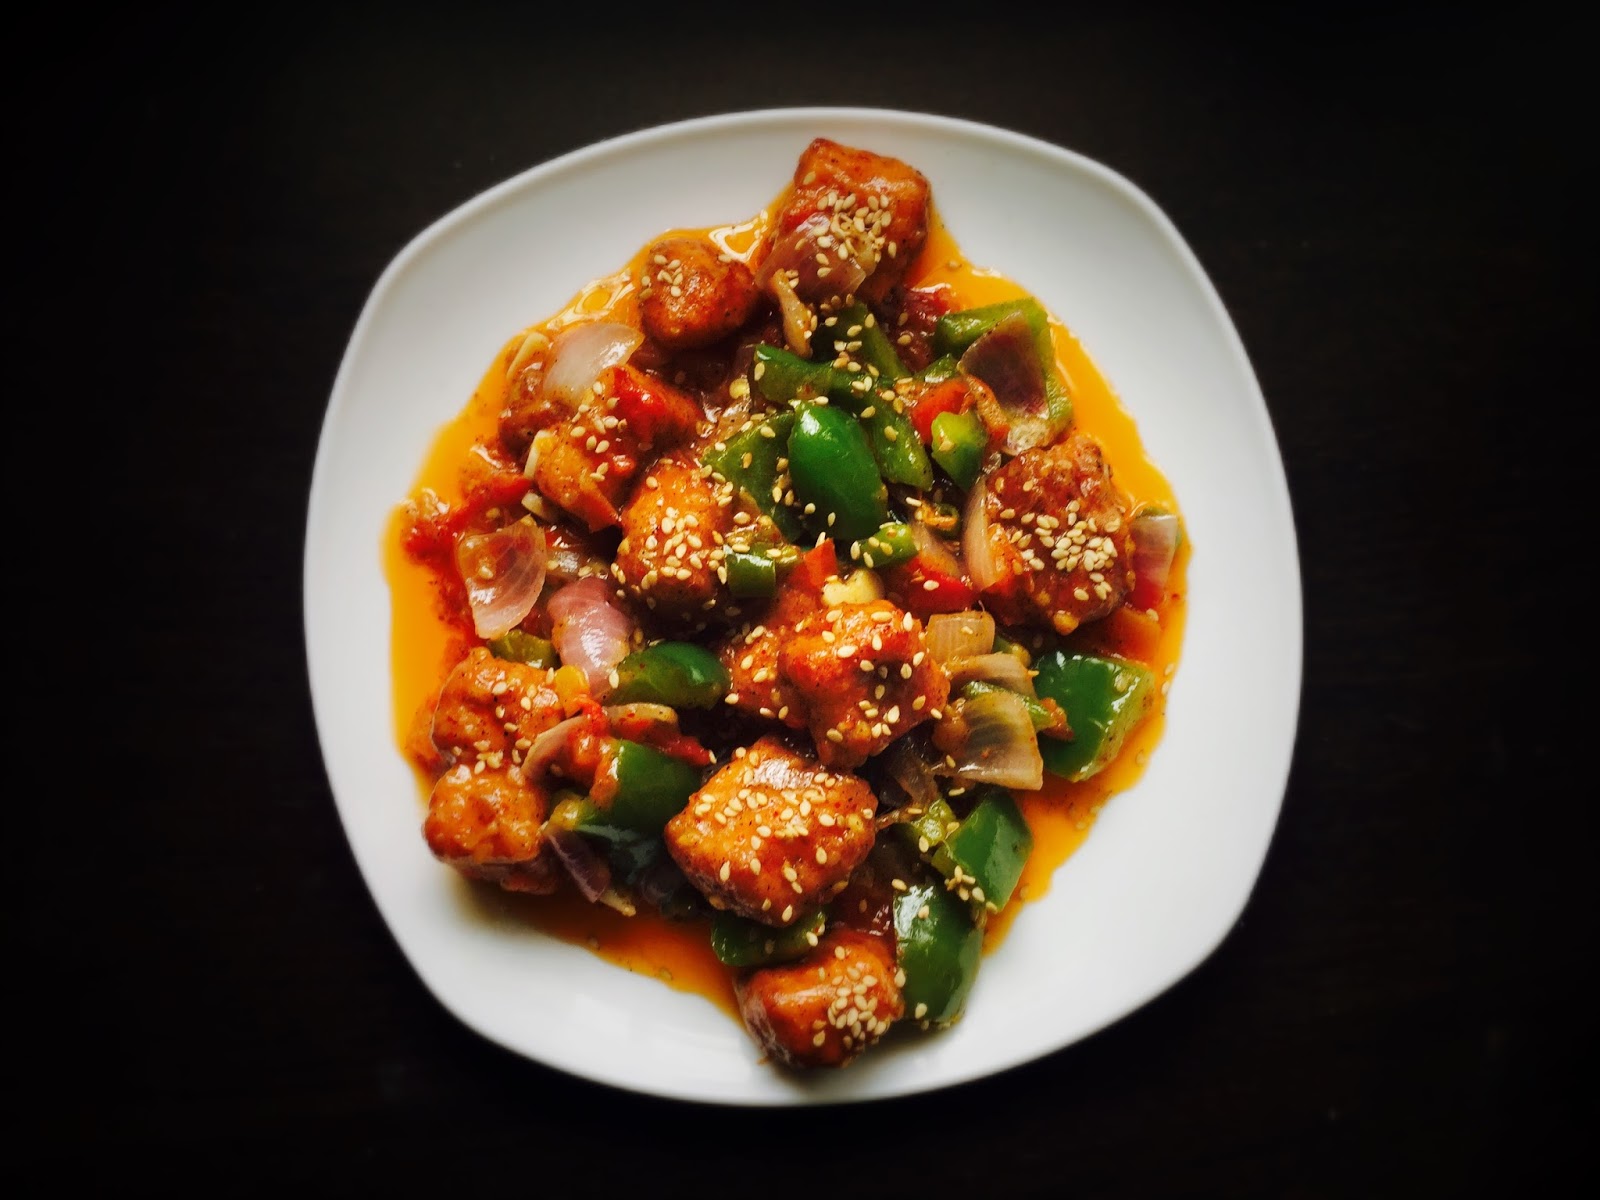
  15. Chilli paneer is ready! Garnish it with spring onions or sesame seeds or both! Serve it with fried rice. 


Step by Step Chilli Paneer Recipe with Photos:


1. Add Paneer cubes, chilli sauce, tomato sauce, salt, red chilli powder, pepper powder in a box. Close the box and shake it well.

Mixed Paneer cubes, sauces, chilli powder and pepper

2. Paneer is coated with the sauces, pepper and chilli. Now add cornflour and maida. Cover it and shake it well again. 


Added Maida and cornflour

3. Paneer should be properly covered with the cornflour and maida mixture. If not, then add more cornflour and maida until properly coated.


Diced onions


Diced Capsicums

5. Now deep fry paneer.

Deep frying coated paneer

6. Deep fry capsicum very quickly. Capsicum should not change its colour. It will take hardly 4-5 second.


Deep frying capsicum


Deep fried capsicum

7. Deep fry onion as well. This will take 2-3 seconds. Be very quick while deep frying onions and capsicum.

Deep frying onions

8. This is how onion should look like after deep frying.


Deep fried onions

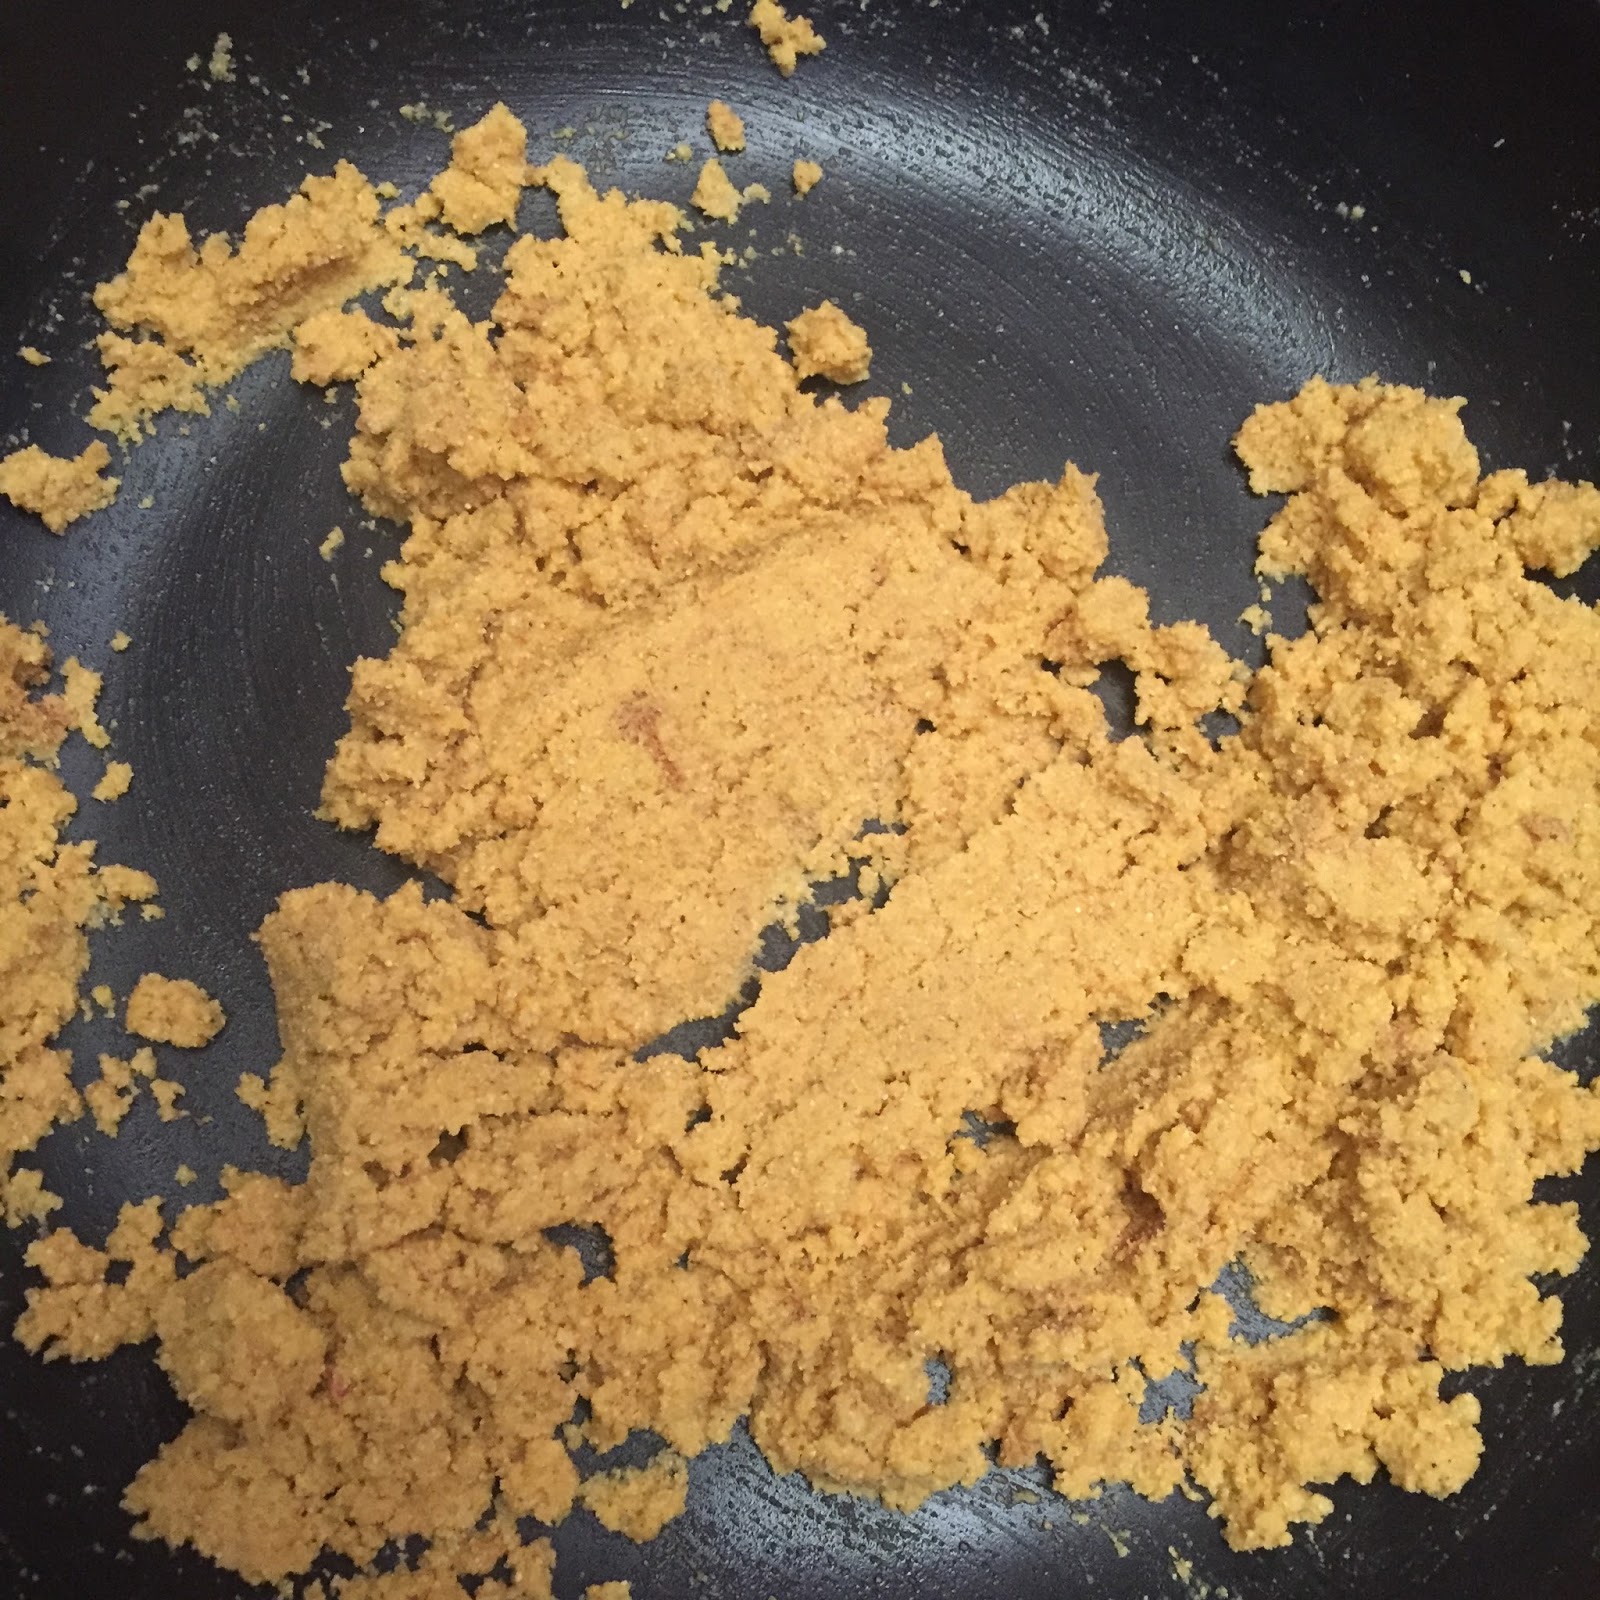
9. Save the cornflour, maida and sauces mixture left. 

Leftover mixture.


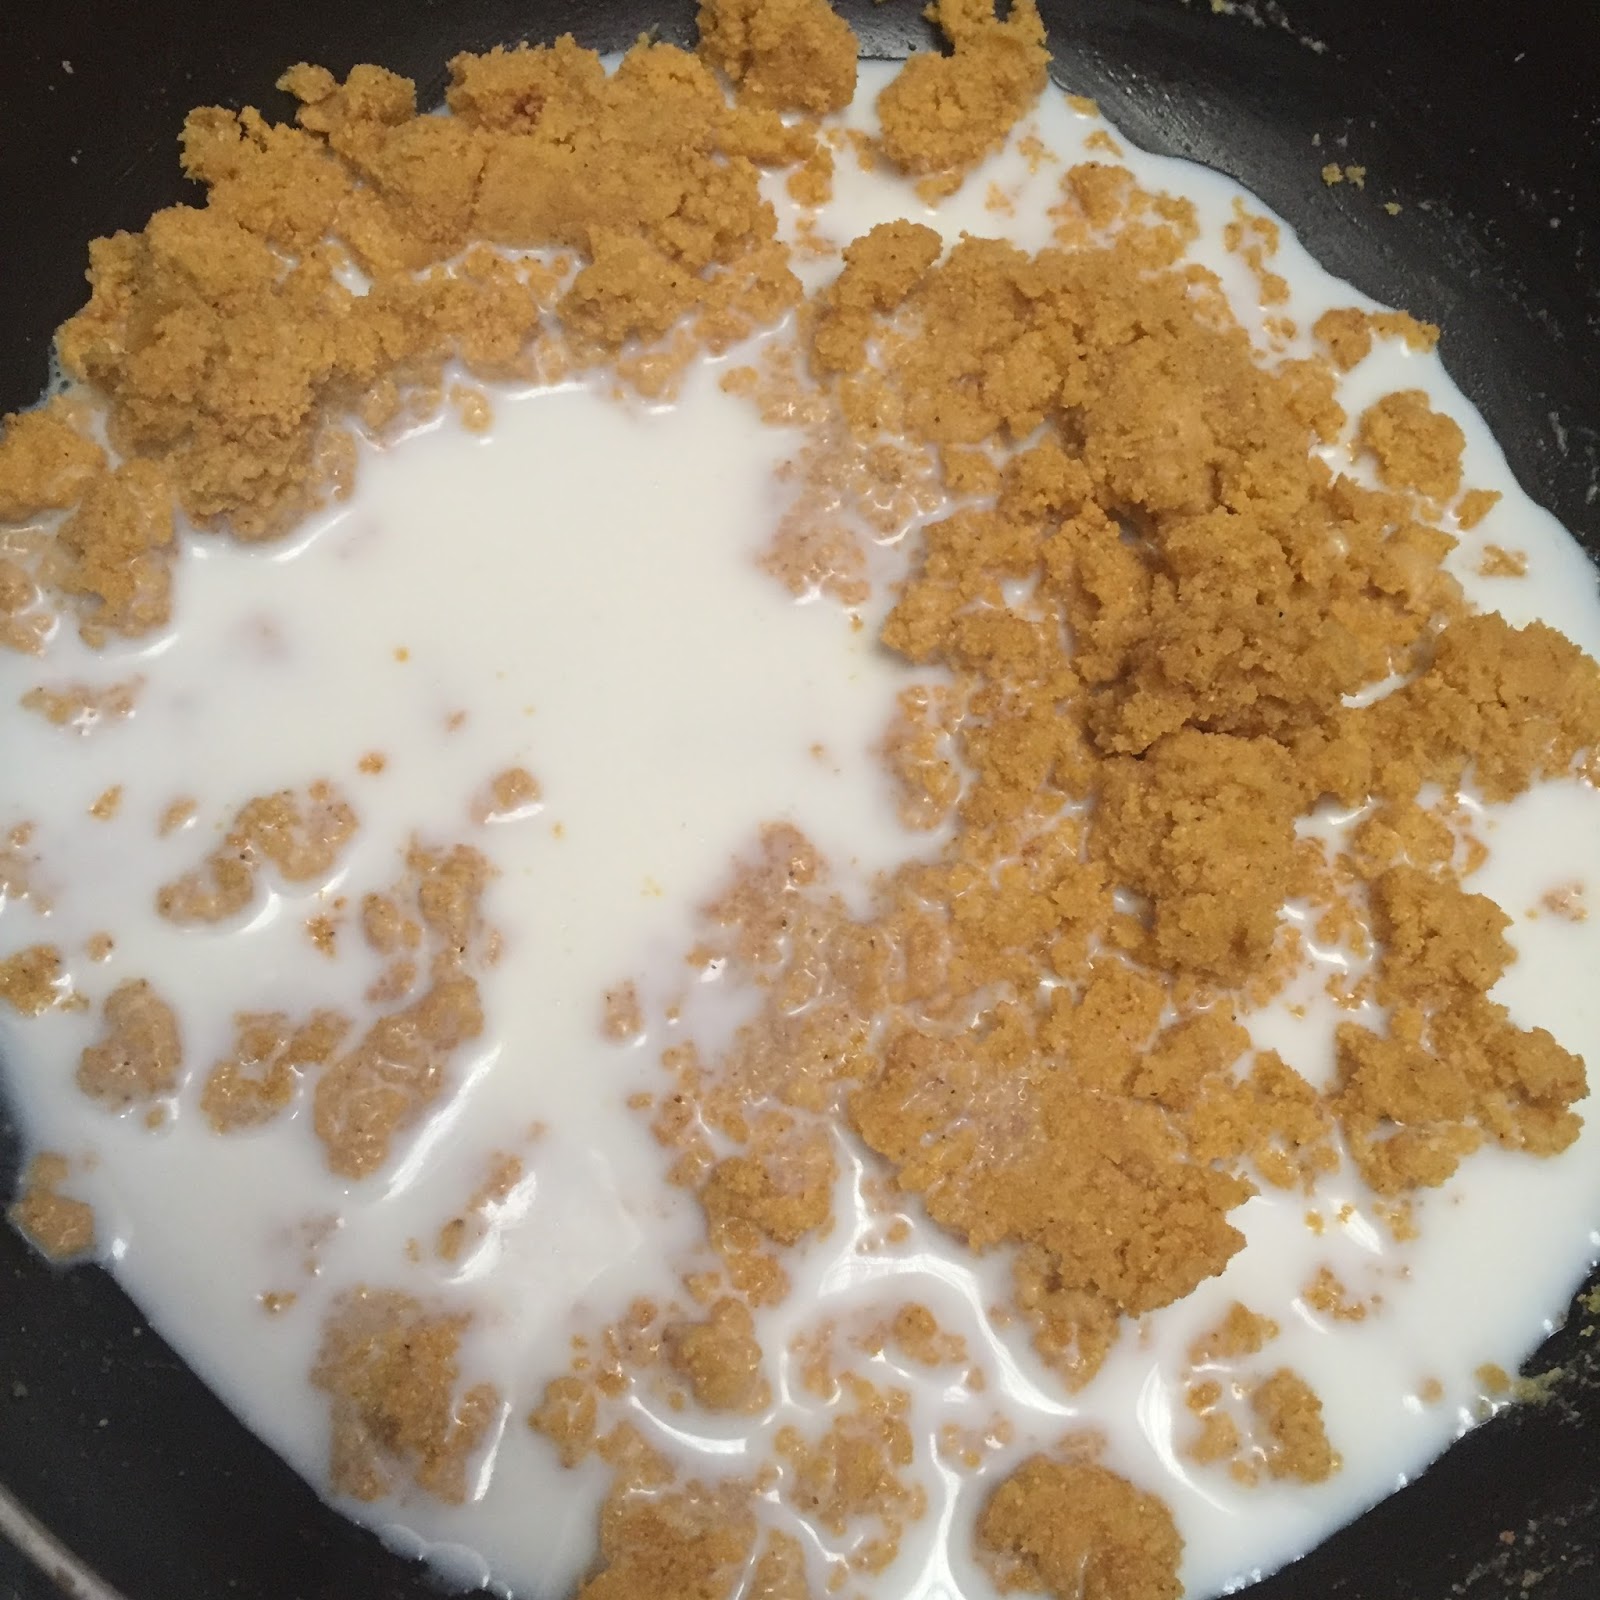
10. Mix Pepper, more chilli sauce, vinegar, soya sauce and tomato sauce.

Added more sauces, pepper and vinegar.

11. Mix everything well. There shouldn't be any lumps. Now, keep this mixture aside.

Mixed well 

12.  Heat 2 tbsp oil in a pan. 

Heating oil


13. Add green chillies, grated ginger and finely chopped garlic. Saute it for a minute oh high flame.

Added ginger, chillies and garlic

14. Add chopped tomatoes. You can skip this if you want to make it really dry.

Added tomatoes

15. Add the mixture that we have prepared in step 11.  Mix everything well. You will notice that consistency is becoming thicker. Add some water if you want a little gravy.

Added mixture


16. Add sesame seeds. 

Added sesame seeds

17. Add deep fried paneer, capsicum and onions.

Added paneer, onion and capsicums

18. Mix it well and cook on high flame for about a minute. Chilli paneer is ready! Sprinkle some chopped spring onions and sesame seeds to garnish.

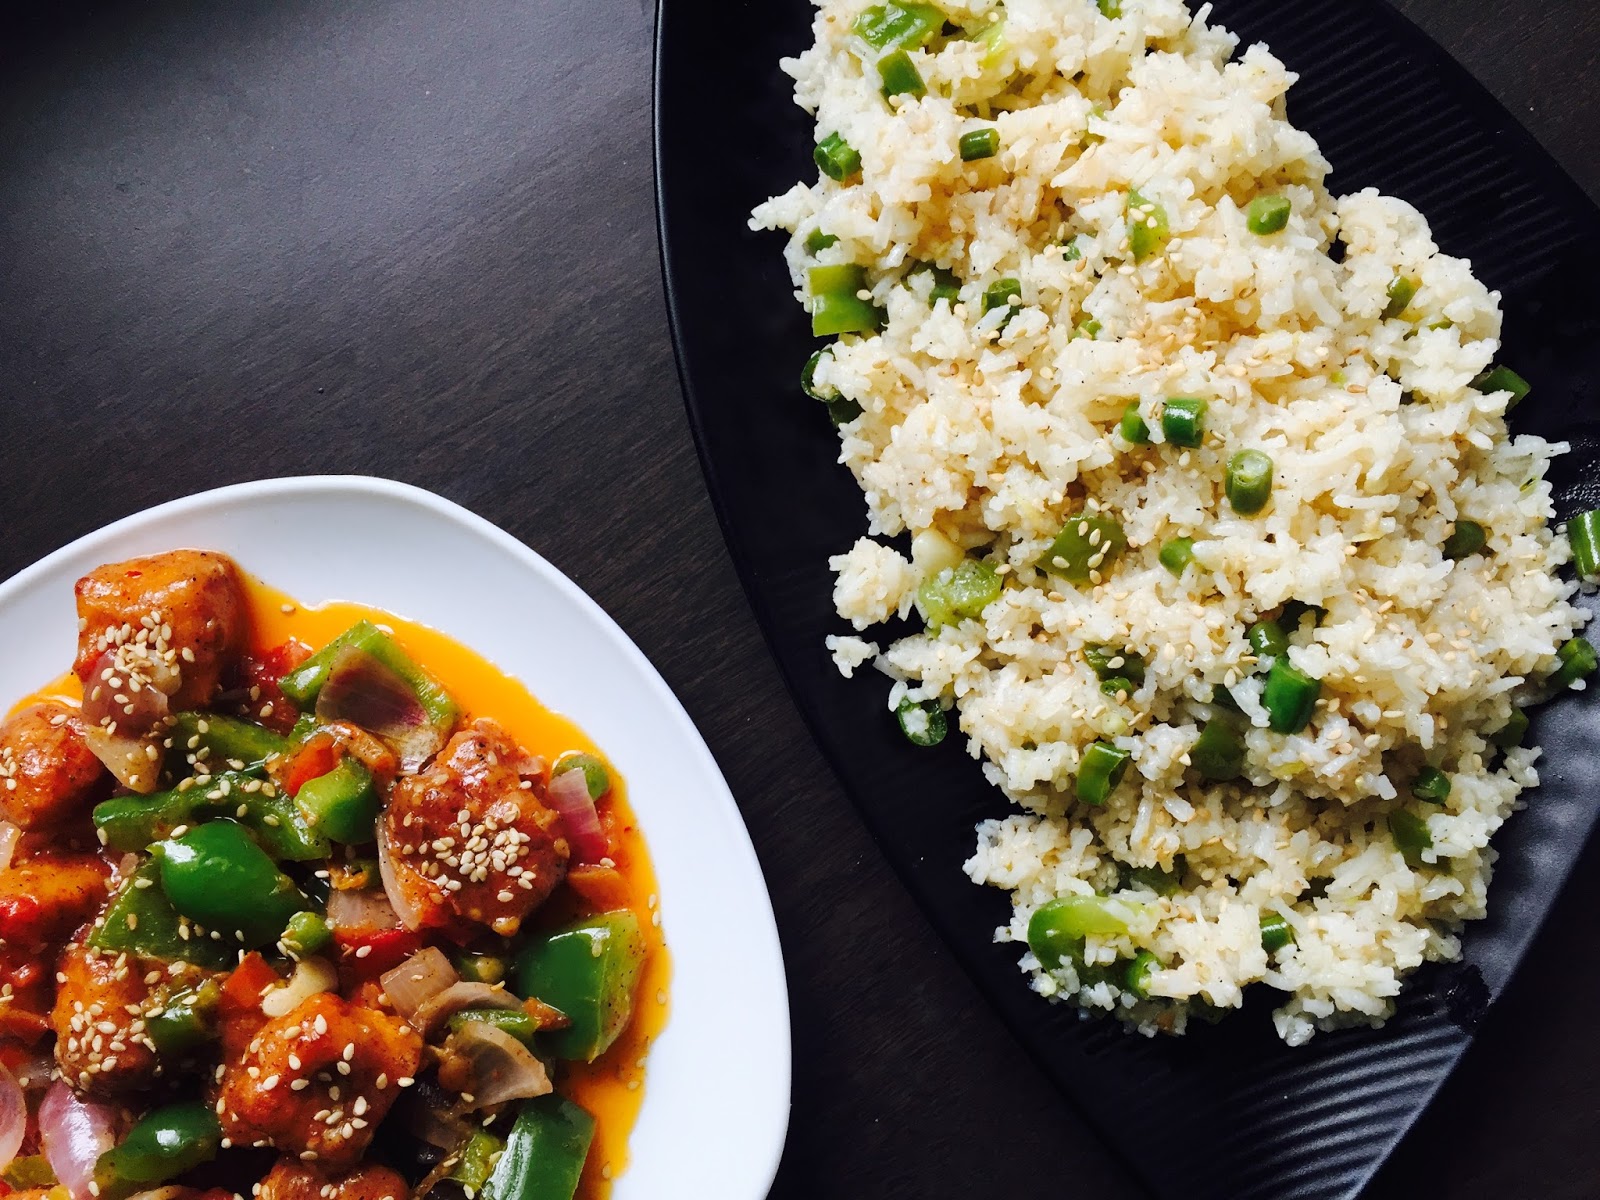
Chilli paneer served with fried rice

Recipe Notes:

  1. You can sprinkle some spring onions before serving.
  2. If you don't like thick coating on the paneer cubes then reduce the quantity of maida and cornflour while coating.
  3. You can also use a pinch of Ajinomoto.

Do try this recipe at home I'm sure everyone will love it. If you liked this recipe this recipe then don't forget to share it with your friends and family😊


Makki atte ka halwa with step by step photos.

Winter is here and makki atta is in this season! This halwa is a must try. It is very tasty and easy to prepare. I have used very less ghee. You can increase the amount of ghee. Obviously it will enhance the flavour.


For preparing makki atte ka halwa, we should roast makki atta very well in ghee. Once it becomes fragrant add milk and ensure that there are no lumps. Towards the end add sugar, chopped dry fruits and crushed cardamom. Easy! Isn't it? 


Here goes the detailed Makki atte ka halwa with step by step photos.

Ingredients:

Makki ka atta - 1 cup
Ghee - 1/2 cup or as per taste
Milk - 2 cups
Sugar - 1 cup
Cardamom crushed - 1/4 teaspoon
Dry fruits (chopped) - Any


Makki Atte ka Halwa Recipe:

  1. Heat ghee in a non stick kadhai. It is important to use non stick kadhai here otherwise you will end up using double amount of ghee.
  2. Add makki ka atta. Roast it on low flame for sometime until it becomes fragrant and a little dark in colour.
  3. Time to add milk. Don't add all the milk at once. Add little then mix it. Keep on doing this. This will ensure that there are no lumps.
  4. Add sugar and mix it well. You can add a little ghee at this stage too. It is optional. 
  5. Add all the chopped dry fruits. Halwa is ready to be served.


Makki Atte ka Halwa Recipe with Step by Step Photos:

1. Heat ghee in a kadhai.

Heating ghee
 2. Add makki ka atta.
Added makki ka atta
 3. Roast it well on low flame until it becomes dark in colour and becomes fragrant.

Roasted in ghee


 4. Add milk slowly and stir it continuously. Ensure that there are no lumps.

Added milk
 5. Add sugar and mix well.

Added sugar
 6. Add chopped dry fruits.

Added dry fruits


 7. Add crushed cardamom.

Added crushed cardamom
 8. Makki atte ka halwa is ready!

Makki atte ka halwa is ready!

Recipe Notes:

  1. Amount of ghee can be increased. I have used non stick kadhai which helped me in using less ghee. Adding more ghee will definitely enhance the flavour. 
  2. Amount of sugar can also be adjusted as per your taste.
  3. Make sure that there are no lumps while adding milk. Best way to do this is to add milk slowly and stir it continuously.

Do try this recipe at home and if you like this recipe then don't forget to share with your friends and family.


Cheesy spinach corn sandwich with step by step photos.

Cheesy spinach corn sandwich is a winter special sandwich! As the name says, it is cheesy😋 with a nice flavour of pepper and mixed herbs 😋
Recipe of the stuffing is similar to the white sauce preparation with spinach and corn.  Do try this at home. Kids will definitely love this!

Here goes the detailed cheesy spinach corn sandwich recipe with step by step photos...


Ingredients:

Bread slices - 6
Corn kernels - 1 cup
Spinach (Chopped) - 1 medium bunch
Processed cheese - 1/2 cup
Maida(All purpose flour) - 1 Tsp
Milk - 3 tablespoon
Pepper - 1/2 teaspoon
Olive oil or any cooking oil - 1 teaspoon
Mixed herbs - 1/2 teaspoon
Butter - 3 tablespoon or as required
Salt - to taste


Cheesy spinach corn sandwich recipe:

  1. Heat oil and about 1.5 tbsp butter in a pan. It's important to add little bit oil with butter otherwise butter starts burning.
  2. Add maida. Mix it well. 
  3. Add corn and spinach. Sauté them for a while.
  4. Now add processed cheese. Keep on mixing it. Cook it for 3-4 minutes on low-medium flame.
  5. The mixture will be very tight at this point. Add milk to make it spreadable. 
  6. Keep on mixing everything. 
  7. Turn off the flame once it has reached the desired thickness. Add some mixed herbs as well.
  8. Stuffing is ready! Time to prepare sandwiches.
  9. Take two bread slices. Apply butter on one side of both the slices.
  10. Keep the one above another so that butter sides stick together.
  11. Now spread the stuffing on one side.
  12. Heat a pan. 
  13. Put the bread with the stuffing first on the pan, the side with butter facing downwards.
  14. Put another slice on this with butter side facing upwards.
  15. Let it roast on a very low flame. 
  16. Flip it and roast it from another side as well! 
  17. Cheesy spinach corn sandwich is ready! Serve it hot with ketchup or any of your favourite dip😋


Cheesy Spinach Corn Sandwich with step by step photos:

1. Heat oil and about 1.5 tbsp butter in a pan. It is important to add little bit oil with the butter otherwise butter starts burning.
Heating butter + oil
 2. Add maida.

Added maida

 3. Mix it well.
Roasting maida


 4. Add sweet corns. Sauté it for 1-2 minutes.
Tossing corn
 5. Add finely chopped spinach.

Added spinach
 6. Add salt.

Added salt


 7. Add processed cheese.

Added cheese
 8. Add black pepper powder.

Added black pepper
9.  Add milk and keep on stirring it really well.

Added milk


10.  Add grated mozzarella cheese.

Added cheese
11. Add mixed herbs.
Added Mixed herbs
12. Apply butter on one side of the two bread slices.

Applied butter on bread slices


13. Put them one above another so that butter side comes together. This step is just to save the mess while stuffing.


Kept one bread on another with butter sides together
14. Put a generous amount of stuffing. Spread it evenly.

Spread stuffing evenly
15. Put this bread on a hot pan.

Bread on the hot pan.


16. Cover it with second bread slice.

Covered with another bread
17. Roast it well from both the sides. Generous amount of butter + low flame is the key to crispy sandwich 😋

Flipped

18.  Serve it hot with your favourite dip.


Beetroot parantha recipe with step by step photos.

Beetroot is a very nutritious vegetable.It is very effective to cure anaemia,  blood sugar, cholesterol, helps in weight control, promotes in stronger bones and teeth, increases the level of anti-oxidants, has anti-ageing properties. Woah! In short, it is a must-have.

Now you must be thinking why all healthy things are tasteless!😒 Well, beetroot parantha comes to rescue! Beetroot parantha is just wow in taste as well as in looks.😍😋 In fact, all of my friends who tasted this parantha had the same opinion. Beetroot gives a very bright colour to the parantha which looks great. You should definitely try this recipe! Here goes beetroot parantha recipe with step by step photos.

Beetroot parantha


Ingredients:

Beetroot (Grated) - 1-2 small beetroot
Atta(Whole wheat flour) - 1.5 cups
Water - 0.75 cups
Green chillies - 2
Anardana powder - 1/2 teaspoon
Garam masala - 1/2 teaspoon
Coriander powder - 1/2 teaspoon
Ajwain(Carom seeds) - 1/2 teaspoon
Oil - 2-3 tablespoon
Salt - to taste


Beetroot parantha recipe:

Dough:

  1. Mix atta, salt and ajwain. 
  2. Add about 1/2 Tbsp oil. Mix it well.
  3. Now slowly add water. Knead it to prepare a soft dough.
  4. The dough is ready! Keep it aside.

For Stuffing:

  1. Heat oil in a pan.
  2. Add grated beetroot.
  3. Add salt, green chillies, anardana powder, garam masala and coriander powder.
  4. Mix everything well. Let it cook on medium-high flame for about 6-7 minutes.
  5. You will notice that beetroot will become a little dry. Press it with the back of the spatula. If the juice is not coming out then stuffing is ready!
  6. Spread it on a plate. Let it cool down for about 15-20 minutes.

Rolling and shaping paranthas:

  1. Take a lemon sized section of dough.
  2. Make bowl kinda shape. Fill the stuffing. Don't stuff too much otherwise it will be difficult to shape and roll paranthas.
  3. Close it. Now roll it with light pressure. Use atta for dusting.

Roasting Paranthas:

  1. Heat a tawa. 
  2. Put rolled parantha on the hot tawa.
  3. You will see some bubbles and the side facing upwards will become darker. This is the time when you should flip the paranthas.
  4. Apply oil on this side now. Flip it again and apply oil on the other side as well.
  5. Make sure that the parantha is roasted well from both the sides.


Beetroot Parantha Recipe with Step by Step Photos:

 1. Mix atta, ajwain and salt.

Mixing atta, ajwain and salt

2. Add oil. Mix it well.

Added oil

3. Add water to prepare the dough.

Added water


4. The dough is ready. Keep it aside.

Dough is ready

5. Heat oil in a kadhai.

Heating oil

6. Add grated beetroot. Saute it a little.

Add grated beetroot

7. Add anardana, salt, garam masala and dhaniya powder.

Added spices(ananrdana, garam masala and dhaniya powder) and salt

8. Add chopped red chillies. Mix everything well. Let it cook for another 5-6 minutes on medium-high flame. It should become dry.

Add chopped green chillies


9. Stuffing is ready. Spread it on a plate. Let it cool down for about 15-20 minutes.

Stuffing is ready

10. Take a lemon sized section of the dough.

A section of dough

11. Shape it like a bowl with the help of your fingers. Fill about 1/2 Tbsp stuffing. You can alter the amount of stuffing as per your choice. Don't stuff a lot otherwise rolling paranthas will become difficult.

Stuffed


12. Close it as shown in the image below.

Closing it

13. Now start rolling it slowly with very less pressure.

Ready for rolling

 14. Parantha is ready to be roasted.

Ready for roasting

 15. Transfer it to a hot tawa.

Roasting

16. Flip it when it starts bubbling. Apply some oil this side.

Roasting


 17. Flip it again. Apply oil this side as well.

Applied oil. Roasting.

18. Cook it well from both the sides.

Beetroot Parantha is ready!

19. Paranthas are ready! Serve it hot with beaten curd, chutney or ketchup.


Beetroot parantha


Recipe Notes:

  1. Don't turn off the flame until the stuffing becomes really dry.
  2. Don't stuff too much stuffing in the paranthas otherwise, it will become difficult to roll.